

DIY Swing Set Assembly Tips & Tricks
Sep 22nd 2023
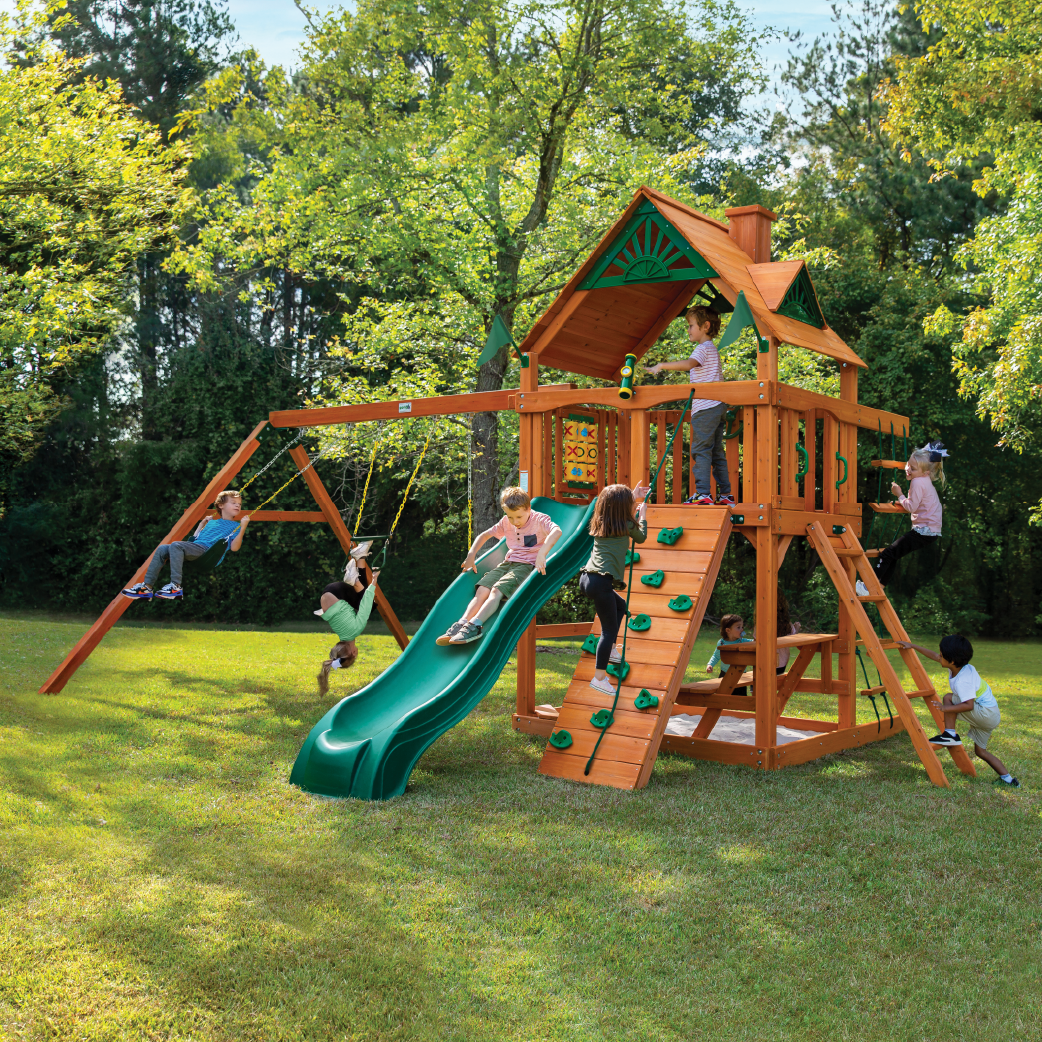
Playsets are the stuff of childhood memories; they encourage fitness and play, and adding some in your backyard is a fantastic way of showing your kids a fun time while staying active outdoors. Luckily, with Gorilla Playsets, you don't need a degree in rocket science to install backyard play structures. We specialize in the safest and easy-to-assemble designs and ship them together with the instructions and resources needed to set up these structures on your own if that’s what you choose.
In this article, we'll provide tips for assembling our play sets if you’d like to give it a go yourself instead of hiring one of our professionals.
In any case, it's always important
to stay safe and informed when working with large or heavy materials,
especially outdoors, for long periods of time. Stay hydrated, wear protective
gear and remember to observe manufacturer guidelines. Use these installation
tips and recommendations to ensure a successful project.

Read The Manual and Take Inventory:
Most playset manufacturers provide full details on the installation process. Don't ignore the details and use guesswork. Go through the instructions carefully and also verify that you have every piece mentioned in the manual. Installation instructions are based on manufacturers' experiences and are the best way to set up playground equipment in a way that optimizes functionality and your kids' safety.
Take time to learn what each individual piece is and its function before diving into the installation process. Also, check to see if you have the tools required to build the set. You will save yourself a lot of time by putting everything in one place before undertaking the project.
Place T-Nuts Correctly
Hex bolts and T-nuts are fasteners that are usually used with wood, plastic and other composite materials. The former features hexagonal heads and machine threads. In contrast, T-nuts feature an internally threaded barrel, a connected flange and generally 3 to 4 prongs.
They are shaped like a T, hence the name. Both are essential for securing playset parts together. They eliminate the chances of material being split or damaged during installation. They also provide a greater shear and torque strength than classic circular screws.
But there's always the issue of hex bolts sticking after tightening. The solution is to correctly position T-nuts on the side that you're fixing your 2x4, 2x6 etc. Correct T-nut placement ensures a secure and flush assembly.
Use Torque Washers to Fasten Bolts
You may come across an unexpected component while assembling your playset - torque washers. These serve a crucial purpose and are especially useful in our wooden outdoor playsets and their plastic parts.
Bolts become loose in such soft, penetrable materials over time due to variable loads and changes in temperature. Torque washers have prongs that dig into the wood to anchor the bolts in place, fastening them tightly. The prongs also increase the surface area at the point of contact between the bolt, mating surface and washer.
They are usually carved from a single piece of metal to minimize the chances of breakage. Generally, torque washers contribute to the overall stability of playsets, especially those fabricated from soft materials such as wood or plastic.
If torque washers are not part of your instruction manual, you are using an outdated version. Please check here for the up-to-date copy of the directions. Those instructions will give you a better idea of why they're needed and where they should go on your wooden playground equipment.
Use Vise Grips to Hold Carriage Bolts While Tightening
Carriage bolts are essential components in wooden playset assembly. They help fasten two pieces of wood together without the need for a second bolt on the other side or a socket. Carriage bolts are round-headed, with a threaded shank and a lock nut. They usually have a little square on their heads, which form the shape of the wood as the nut goes through on the other side, tightening everything up in a nice way. However, if the drill holes are too large, the square won't be able to press fit and impress into the wood.
This will definitely result in a spinning carriage bolt when you start to tighten the nut. In this case, simply grab the bolt head with vise grips or locking pliers as you tighten the nut. Of course, you will have to apply a great proportion of force toward the bolt head to keep your vise grips from slipping.
Use a Hammer to Set Carriage Bolts and Washers in Place
Once you've put in the carriage bolts, put washers and nuts in place. Our washers and carriage bolts are designed to fit tight. But in case they don't fit, tap gently using a hammer to set the carriage bolts in place. Simply tap the head gently to push the bolt in place. If the washer still won't perform, try others. Not all torque washers have the same tolerance; feel free to substitute them until you find the ones that fit.
Install Swing Beam and Corner Posts
We often get questions from customers asking why there aren't any pre drilled holes in the posts of the corners. Most customers assume it's an error that happens during manufacturing. Our 2x6 lumber generally features two holes on opposite ends that attach to the posts of the corners.
Simply align one hole with the pre drilled pilot hole, and fasten the other with a self tapping screw. Don't rush placing the lag screws in the early stages of the playset assembly. Wait until you've assembled the main frame; this is usually after the 7th or 8th step, depending on your playset unit, of course.
Keep The Fort and Swing Beams Together
For playsets that comprised a fort and swing beams, we don't recommend separating the structures for use as standalone pieces. In the past we’ve had customers inquiring whether it's possible to assemble the set such that the fort and swing beams are standalone. However, these components are meant to work in tandem, meaning they rely on each other for support, so separating them risks making them less stable.
In case you have a smaller backyard and think standalone pieces will optimize space usage, try our Chateau Tower Swing Sets that is offered as stand alone option and a basic swing set.
To Sum Up
Backyard play structures are an important part of every child's life. Luckily, we provide everything you need to assemble the play set of your kids dreams. You can even take a look-see at the manual beforehand to make sure you have all the parts and tools required. Hopefully these extra tips will help you if you decide to go the DIY route. We also provide professional installation services for those who would rather leave the job to the experts.
So what are you waiting for? Find
your perfect children’s playset on our website today! Whether through your own
DIY skills or through our professional installer, it’ll be in your backyard and
set up before you know it!